Creating AI Generated QR Codes Using Stable Diffusion And ControlNet

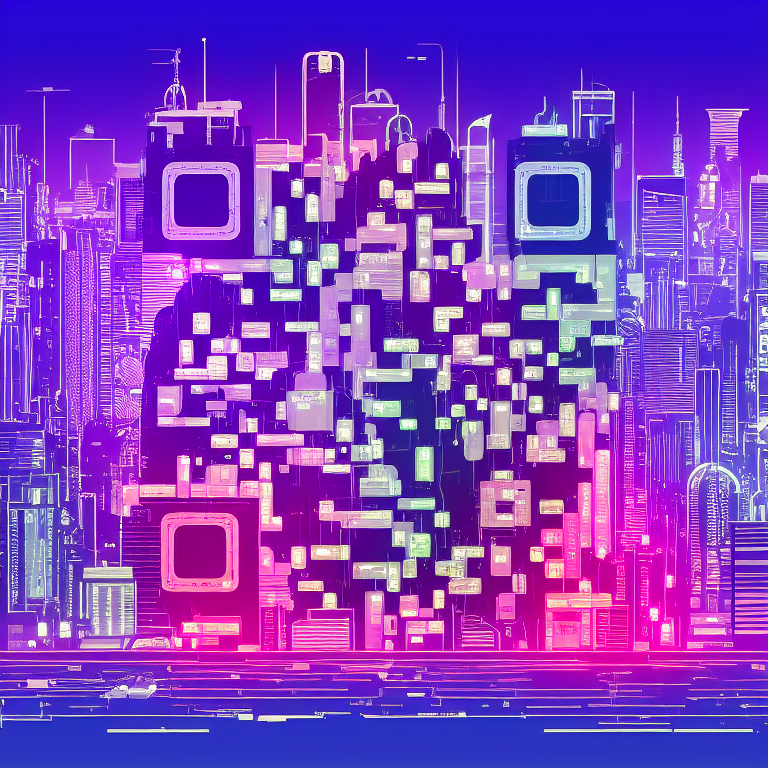
In the blog post, I'll be showing you how to create AI generated QR codes like this using Python.

Introduction
QR Codes have been around for decades and they are very useful for sharing content such as URLs. While they may be useful, the way they look cannot be customized and this leads to a bunch of boring and colorless QR codes.
Well, that's about to change.
Using state-of-the-art image generation models like Stable Diffusion and ControlNets, we can create awesome looking QR codes.
Before we jump to the code, let's take a look at how these images are generated.
Stable Diffusion and Control Nets
By this point, everyone is familiar with Stable Diffusion and how it can be used to generate images. What's new is the ControlNet. A ControlNet is a neural network that copies the layers of a diffusion model and locks down a portion of the layers so that they become "untrainable". The remaining portion of the layers which are not locked can be trained on a small subset of images to learn a specific style.
By using the combination of ControlNets with Stable Diffusion, it becomes easy to transfer a style, such as a QR code, onto a generated image.
Setup
For the full code, please visit the link below:


There are a lot of open-source diffusion and ControlNet models. However, you cannot just mix and match these models due to a lack of compatibility.
For this tutorial, we'll be using these two models:
- Stable Diffusion 1.5 (Diffusion Model)
- Control Qrcode Monster (ControlNet)
Here is a list of Python dependencies required for this project:
pip install diffusers==0.21.1
pip install torch==2.0.1
pip install ftfy==6.1.1
pip install scipy==1.9.3
pip install transformers==4.25.1
pip install accelerate==0.20.3
pip install qrcode==7.4.2
pip install xformers==0.0.21
Downloading The Models
First, let's import the basic packages.
import torch
import qrcode
from PIL import Image

from diffusers import (
    StableDiffusionControlNetPipeline,
    ControlNetModel,
    DDIMScheduler,
    DPMSolverMultistepScheduler,
    DEISMultistepScheduler,
    HeunDiscreteScheduler,
    EulerDiscreteScheduler,
    EulerAncestralDiscreteScheduler
)
Next, let's download the models.
controlnet = ControlNetModel.from_pretrained(
    "monster-labs/control_v1p_sd15_qrcode_monster", torch_dtype=torch.float16
)

pipe = StableDiffusionControlNetPipeline.from_pretrained(
    "runwayml/stable-diffusion-v1-5",
    controlnet=controlnet,
    safety_checker=None,
    torch_dtype=torch.float16,
).to("cuda")
pipe.enable_xformers_memory_efficient_attention()

SAMPLER_MAP = {
    "DPM++ Karras SDE": lambda config: DPMSolverMultistepScheduler.from_config(config, use_karras=True, algorithm_type="sde-dpmsolver++"),
    "DPM++ Karras": lambda config: DPMSolverMultistepScheduler.from_config(config, use_karras=True),
    "Heun": lambda config: HeunDiscreteScheduler.from_config(config),
    "Euler a": lambda config: EulerAncestralDiscreteScheduler.from_config(config),
    "Euler": lambda config: EulerDiscreteScheduler.from_config(config),
    "DDIM": lambda config: DDIMScheduler.from_config(config),
    "DEIS": lambda config: DEISMultistepScheduler.from_config(config),
}
Ok, what's happening here?
- We download controlnet qr code monster and stable diffusion from hugging face
- Next, we create a list of sampling algorithms which will get fed into the image generation pipeline. Different samplers produce slightly different images.
- From my experimentation, the
Euler aandDPM++ Karrassamplers tend to work the best for creating high-quality images.
Generating A QR Code
def create_code(content: str):
    qr = qrcode.QRCode(
        version=1,
        error_correction=qrcode.constants.ERROR_CORRECT_H,
        box_size=16,
        border=0,
    )
    qr.add_data(content)
    qr.make(fit=True)
    img = qr.make_image(fill_color="black", back_color="white")

    offset_min = 8 * 16
    w, h = img.size
    w = (w + 255 + offset_min) // 256 * 256
    h = (h + 255 + offset_min) // 256 * 256
    if w > 1024:
        raise Exception("QR code is too large, please use a shorter content")
    bg = Image.new('L', (w, h), 128)

    coords = ((w - img.size[0]) // 2 // 16 * 16,
              (h - img.size[1]) // 2 // 16 * 16)
    bg.paste(img, coords)
return bg- Our QR code will contain a link to a website, so we want to dynamically generate it.
- Using the
qrcodepackage from python, we can generate these QR codes with the correct URL content. - Our control net model expects the image to be a perfect square so the image gets resized
Here is the output of this function:

Image Generation
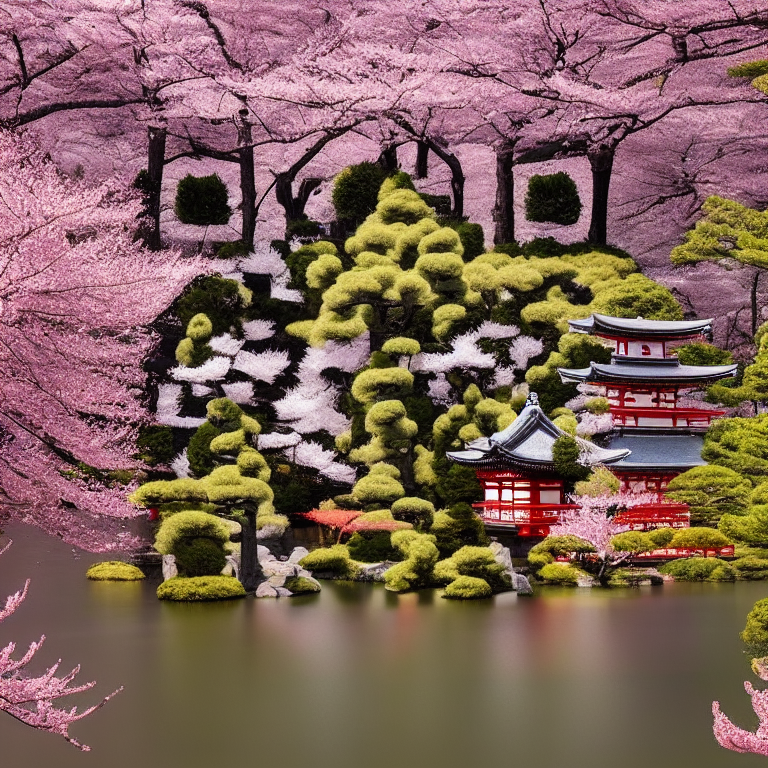
qr_code_content = "https://www.brainbyte.io"
prompt = "a japanese temple next to a shimmering river, sakura, cherry blossom, 4K, high quality"
negative_prompt = "blurry, low quality"
guidance_scale = 7.5
controlnet_conditioning_scale = 1.35
seed = -1
sampler="Euler a"

pipe.scheduler = SAMPLER_MAP[sampler](pipe.scheduler.config)

generator = torch.manual_seed(seed) if seed != -1 else torch.Generator()

print("Generating QR Code from content...")
qrcode_image = create_code(qr_code_content)

out = pipe(
        prompt=prompt,
        negative_prompt=negative_prompt,
        image=qrcode_image,
        width=qrcode_image.width,
        height=qrcode_image.height,
        guidance_scale=float(guidance_scale),
      controlnet_conditioning_scale=float(controlnet_conditioning_scale),
        generator=generator,
        num_inference_steps=40,
)

display(out.images[0])
Here we are putting everything together and calling our pipeline to generate the final image. A few things to take note of:
- The
promptis very important. Some prompts blend naturally with the QR code patterns while others don't. - The
guidance_scaleparameter tells the model how closely it should stick to the prompt. A higher guidance scale leads to less creativity. - The
controlnet_conditioning_scaleallows you to control the visibility of the QR code. A lower condition scale will make the QR code invisible while a higher scale will make it appear very strongly.
Here are some prompts to try out:
Prompt:
Cyberpunk cityscape with towering skyscrapers, neon signs, and flying cars
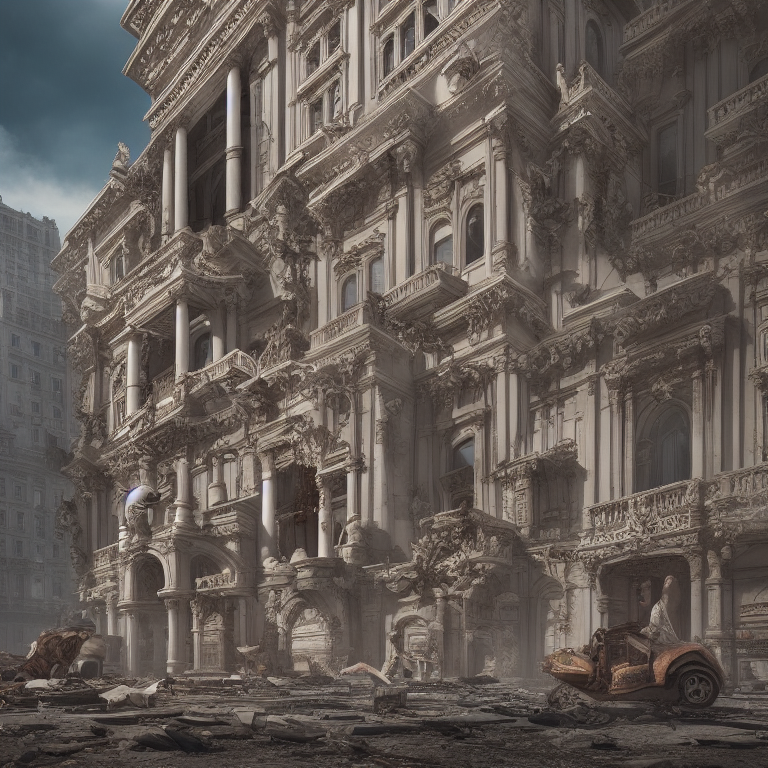
Prompt:
Concept art for a post-apocalyptic world with ruins, overgrown vegetation, and a lone survivo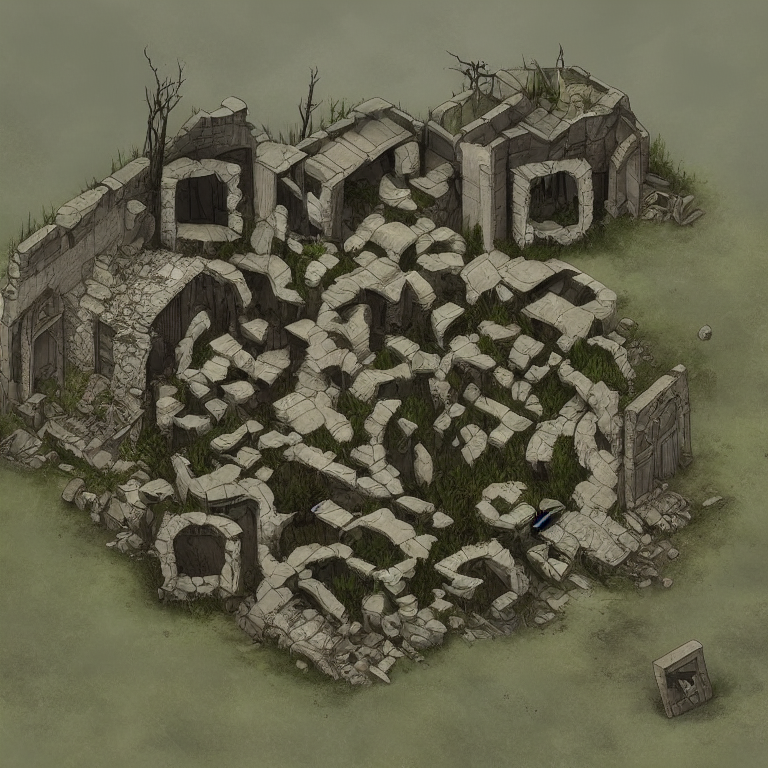
Prompt:
A japanese temple next to a shimmering river, sakura, cherry blossom, 4K, high quality
Prompt:
A time-traveling scene with portals or gateways to different eras in history, mystery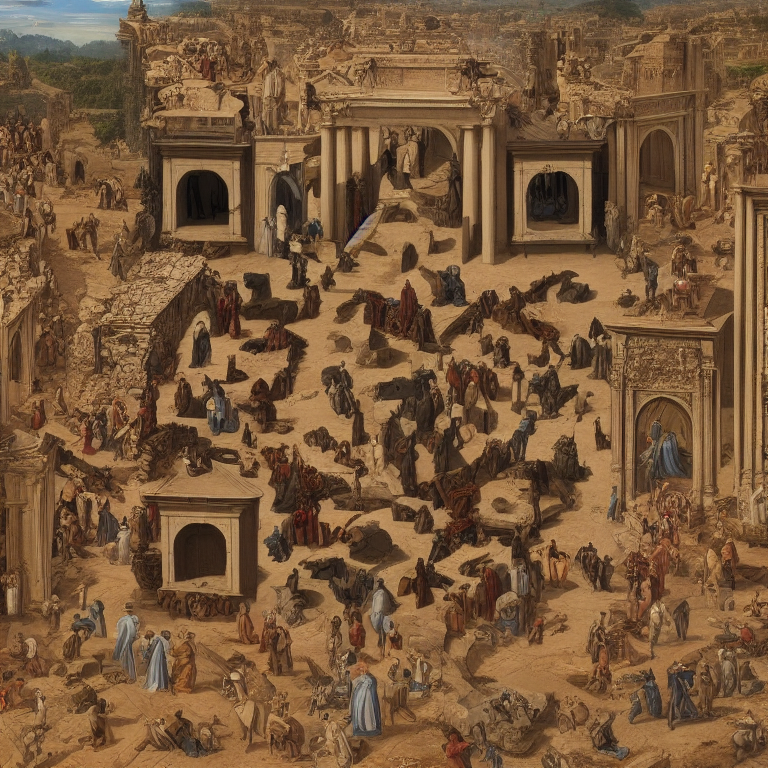
Prompt:
A surreal underwater scene with fish in a bioluminescent ocean, otherworldly ambiance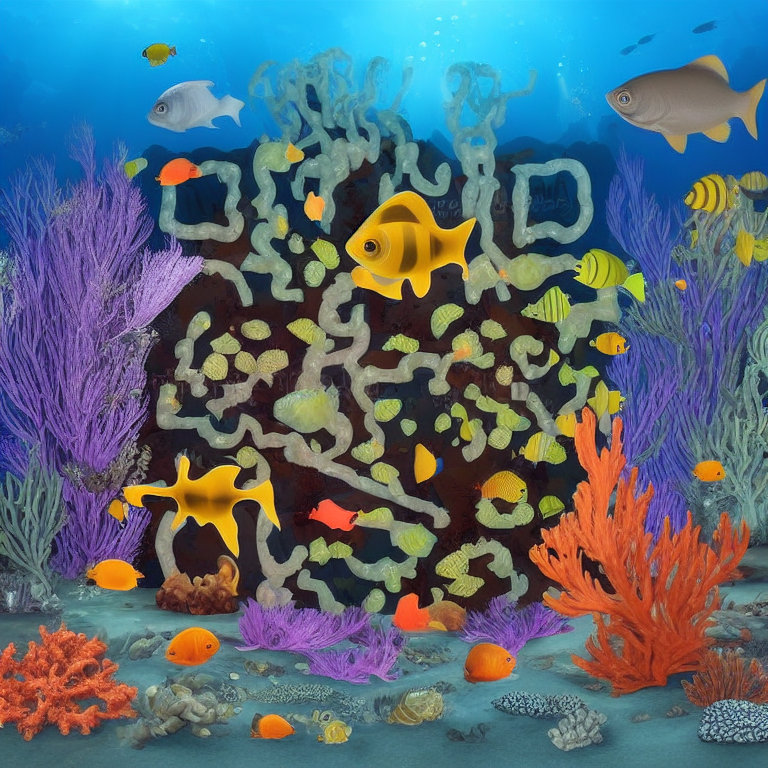
Guidance Scale Impact On Image Generation
For the following prompt, I've kept everything the same except for the guidance scale.
Prompt:
A RAW photo of Baroque rococo architecture, architectural photography, post apocalyptic New York, hyperrealism, roots, hyperrealistic, octane render, cinematic, hyper detailed, 8KGuidance Scale: 30
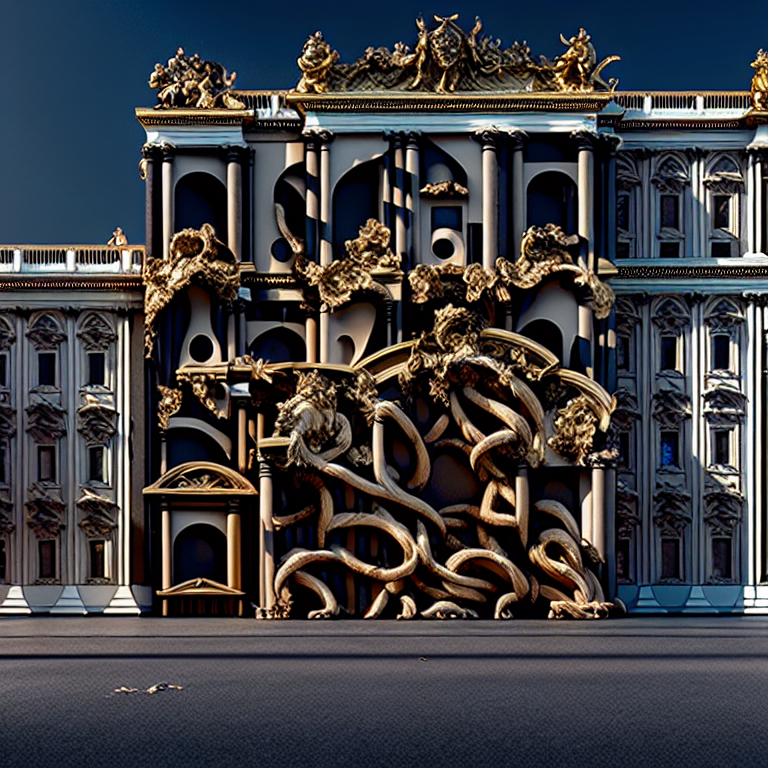
Guidance Scale: 3
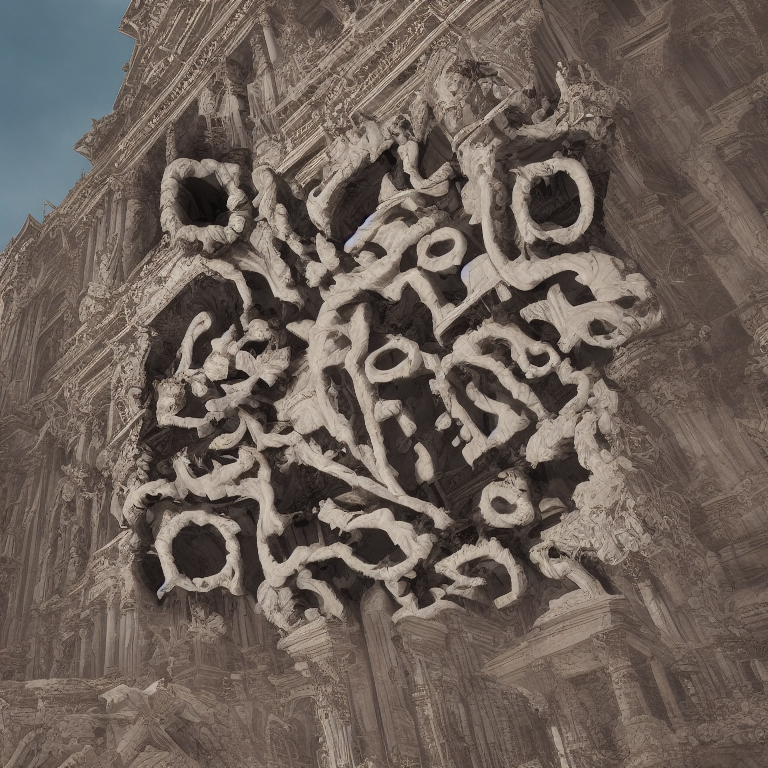
As you can see, a higher guidance scale makes the image follow the prompt closely. The key is to find a good balance between creative freedom(lower guidance scale) and accuracy(high guidance scale).
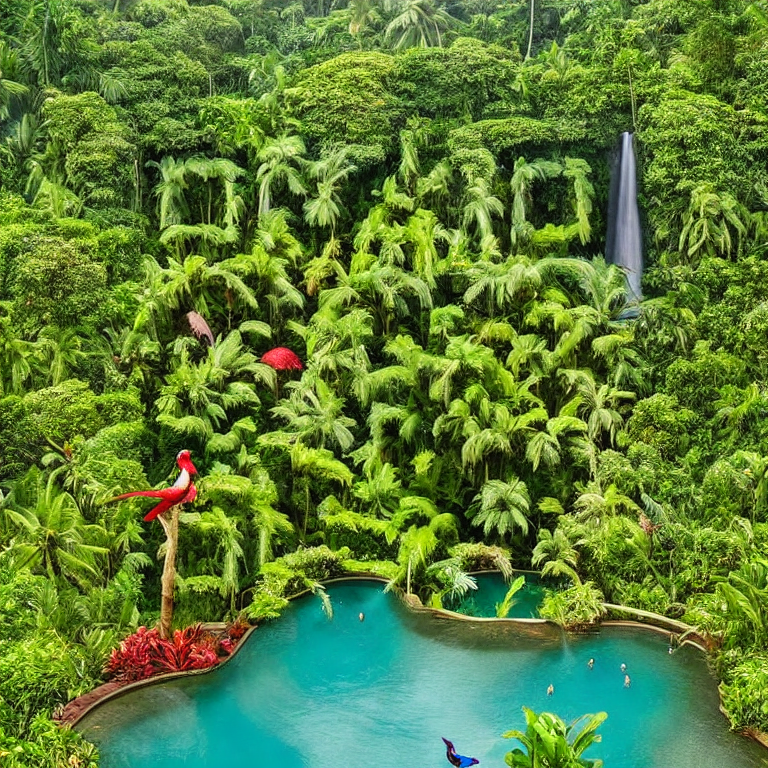
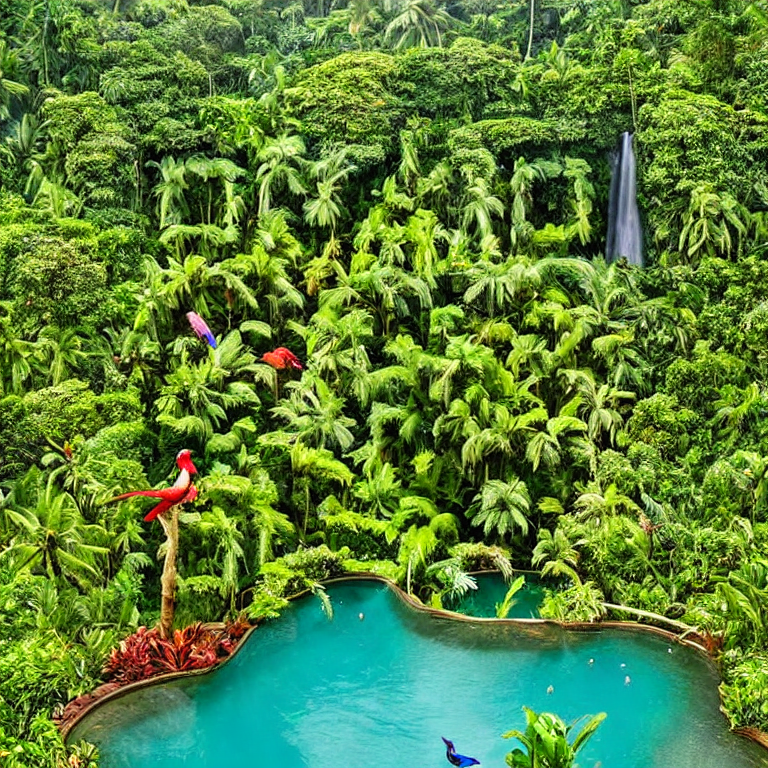
Impact Of ControlNet Condition Scale
Similar to the guidance scale, here are a few examples of how the controlnet condition scale can affect your images.
ControlNet Condition Scale: 2
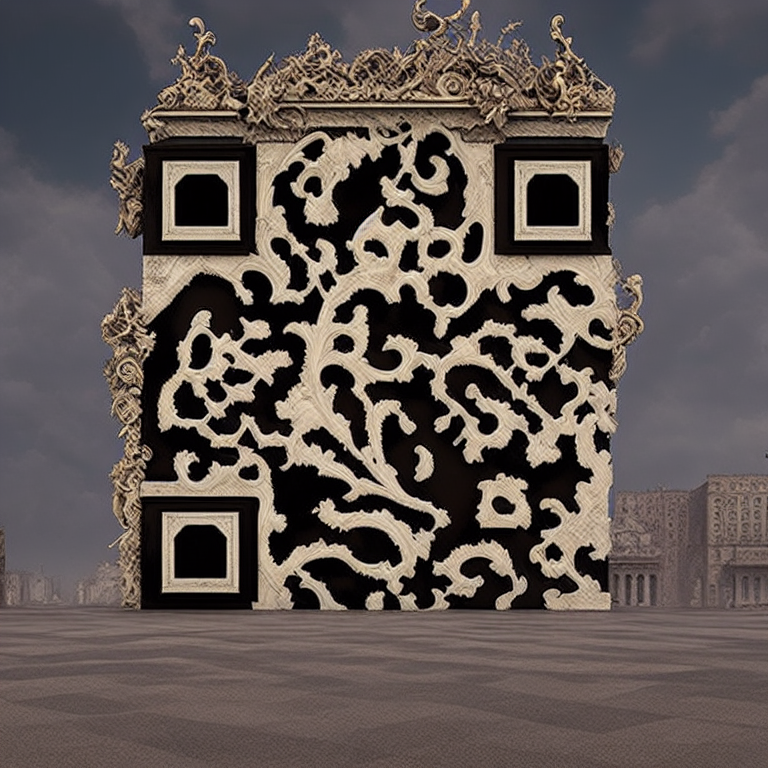
ControlNet Condition Scale: 0.5
From the results, you can see that a higher condition scale makes the QR code appear more "strict". A very low condition scale makes the QR code invisible. If you want to improve the scannability of the QR code, then make the condition scale a bit higher.
Choosing Different Samplers
Each sampler tries to create an image from random noise as a starting point. Here are some results I got using different samplers:
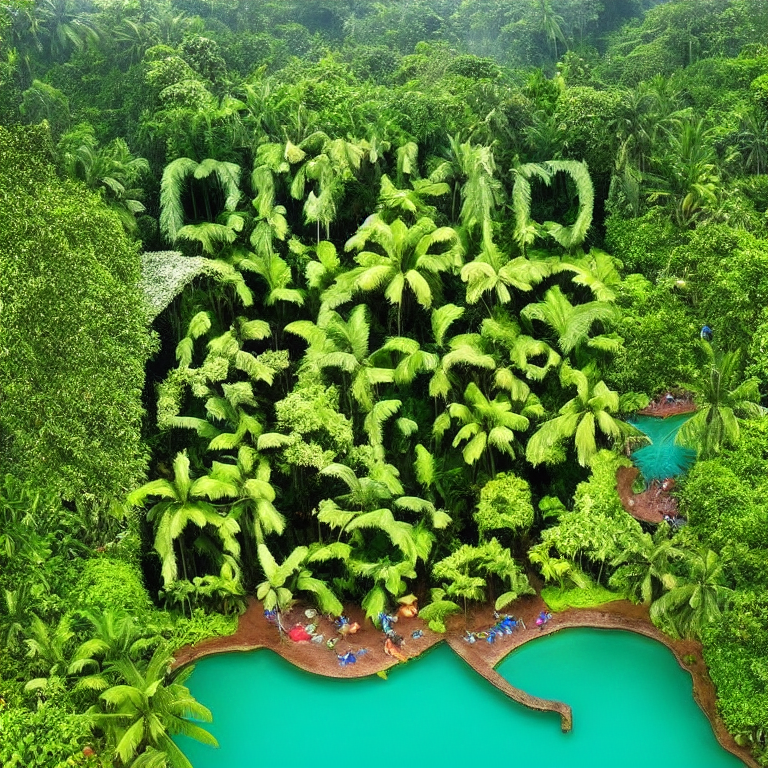
The Euler a sampler generally outputs the best results. It's important to note that with each sampler, you may need to change the other parameters such as the guidance scale and control net scale to get better results.
AI models
The ControlNet and Stable Diffusion models used in this blog post are not the only models you can choose from. If you want to generate images with different styles, you can experiment with various diffusion models as well as control nets.
There are a few different models for the ControlNet:
Similarly there are a few versions of Stable Diffusion to choose from:
Full code for this tutorial:
Conclusion
Using generative AI we are now able to take a simple image such as a QR code and transform it into something beautiful and customizable. This technology is still new and there are ongoing developments in this field to improve the quality of the models.
As with most other applications of generative AI, experimentation is key to obtain good results. So, I urge you to play around with the code and various parameters to get a better understanding of how the system works and create some cool QR codes along the way.
Thanks for reading!

Member discussion