Upscaling Images Using AI
Introduction
Many of the open-source image generation models such as stable diffusion tend to produce images in a lower resolution. Stable diffusion 1.5 was trained on images that were 512 x 512 pixels. Version 2.0 was trained on 768 x 768 pixels. In an era where 4K images are common, these resolutions seem subpar. I'm confident that over time advancements in generative image models will lead to higher resolutions. However, in the present, are there any immediate actions we can take to address this problem?
Enter AI image upscaling.
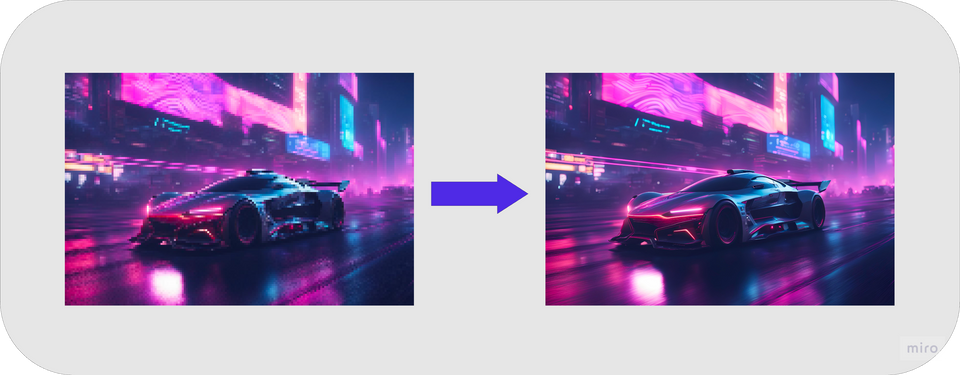
Through a process called Super Resolution, you can take a low resolution image and convert it into a higher resolution without losing image quality. One of the most popular models using super resolution is Real-ESRGAN. Real-ESRGAN is a generative model that tries to create high-quality images that closely resemble the desired target images.
How It Works
Real-ESRGAN consists of two neural networks:
- Generator
- Responsible for the super-resolution task
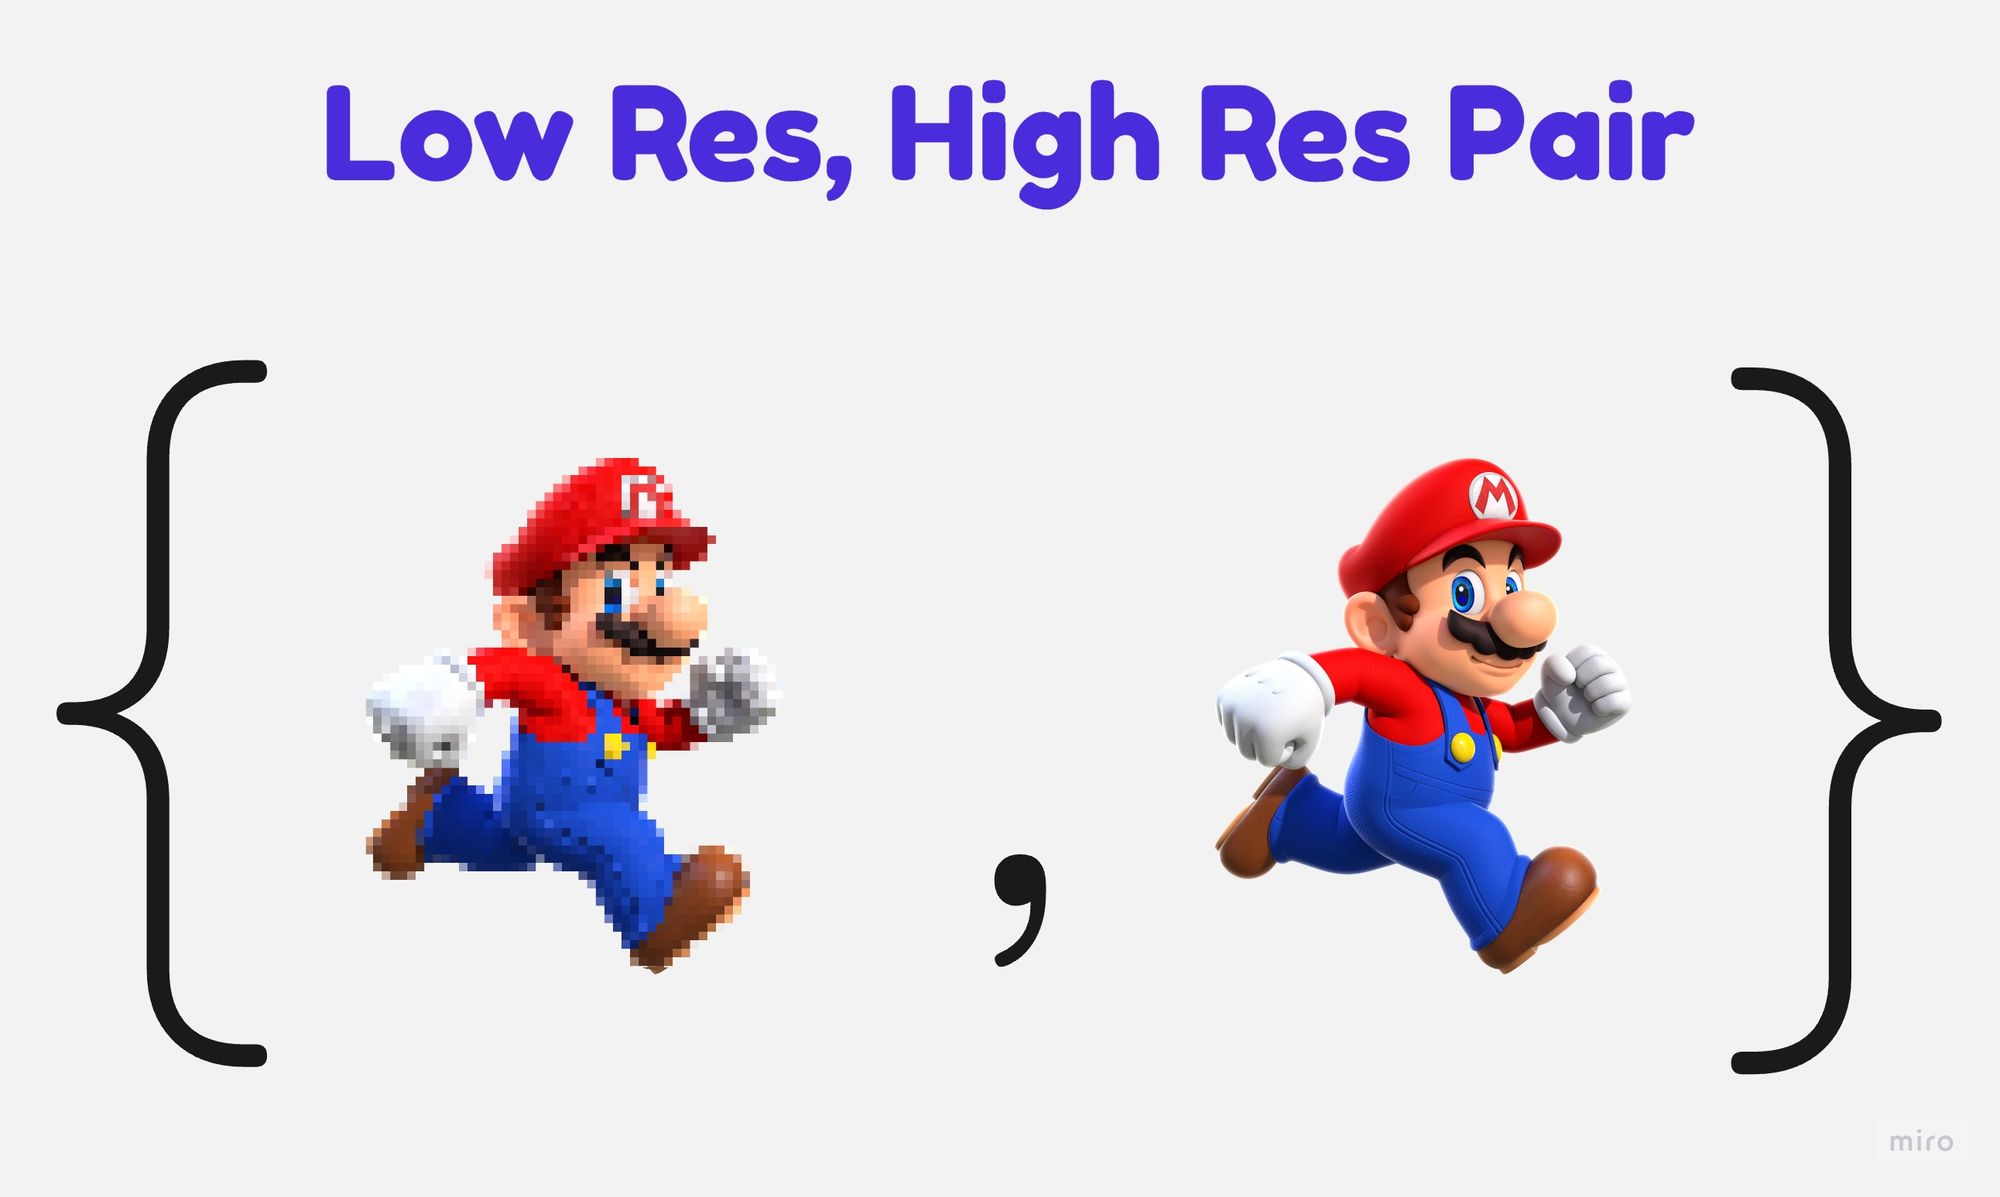
- Trained on a dataset of paired low-resolution and high-resolution images
- Uses its learned weights and architecture to upscale the input image by adding details and improving its visual quality
- GAN(Generative Adversarial Network)
- Used to distinguish between real high-resolution images and images generated by the generator
- The generator tries to produce high-resolution images that are indistinguishable from real ones, while the GAN tries to become better at telling real from fake
TLDR; The generator continually tries to improve the quality of the images it has generated. While the GAN tries to continually improve its ability to detect fake images. These two models are pitted against each other, resulting in both models becoming extremely good at their respective task.
During training, the generator takes a low-resolution input image from the dataset and attempts to generate a high-resolution image. The GAN, on the other hand, receives the real high-resolution image and the generated image from the generator and learns to differentiate between them. The adversarial training process involves the generator trying to produce high-resolution images that are convincing enough to deceive the GAN.
At the end of the day, you get a generator model that is very good at producing high-resolution images from low-resolution inputs.
Code
To run this model, a GPU with at least 8GB of VRAM is required. Google Colab's free tier comes with a GPU with 16GB of VRAM, so that is more than enough.
For the full code, please take a look at this google colab:


Step 1: Setup
!git clone https://github.com/xinntao/Real-ESRGAN.git
%cd Real-ESRGAN
!pip install gfpgan>=1.3.5
!pip install basicsr>=1.3.3.11
!pip install facexlib>=0.2.0.3
!pip install gfpgan>=0.2.1
!pip install -r requirements.txt
!python setup.py develop
Here we are simply cloning the project and installing the required python dependencies.
Step 2: Download the model weights
import os
os.makedirs('weights', exist_ok=True)
!wget https://github.com/xinntao/Real-ESRGAN/releases/download/v0.1.0/RealESRGAN_x4plus.pth -P ./weights
We need the weights for the model in order to use it. There are multiple variants of the model, the RealESRGAN_x4 is a 4X image upscaling model that works well for most use cases, so we'll be using this one.
There are a few other weights you can try if you're curious:
- RealESRNet_x4plus
- RealESRGAN_x4plus_anime_6B
- RealESRGAN_x2plus
Step 3: Import modules and set up model
from basicsr.archs.rrdbnet_arch import RRDBNet
import cv2

from realesrgan import RealESRGANer
from realesrgan.archs.srvgg_arch import SRVGGNetCompact
from gfpgan import GFPGANer
import tempfile
import base64
import numpy as np
import io
from PIL import Image


model = RRDBNet(num_in_ch=3, num_out_ch=3, num_feat=64, num_block=23, num_grow_ch=32, scale=4)
netscale = 4
model_path = os.path.join("weights", "RealESRGAN_x4plus.pth")
upsampler = RealESRGANer(
            scale=netscale,
            model_path=model_path,
            model=model,
            tile=0,
            tile_pad=10,
            pre_pad=0,
            half=True)
In step 1 we cloned the git repo and ran the command !python setup.py develop. This is what allows us to import realesrgan as a python module. Using this module we can load the model using the RealESRGANer class.
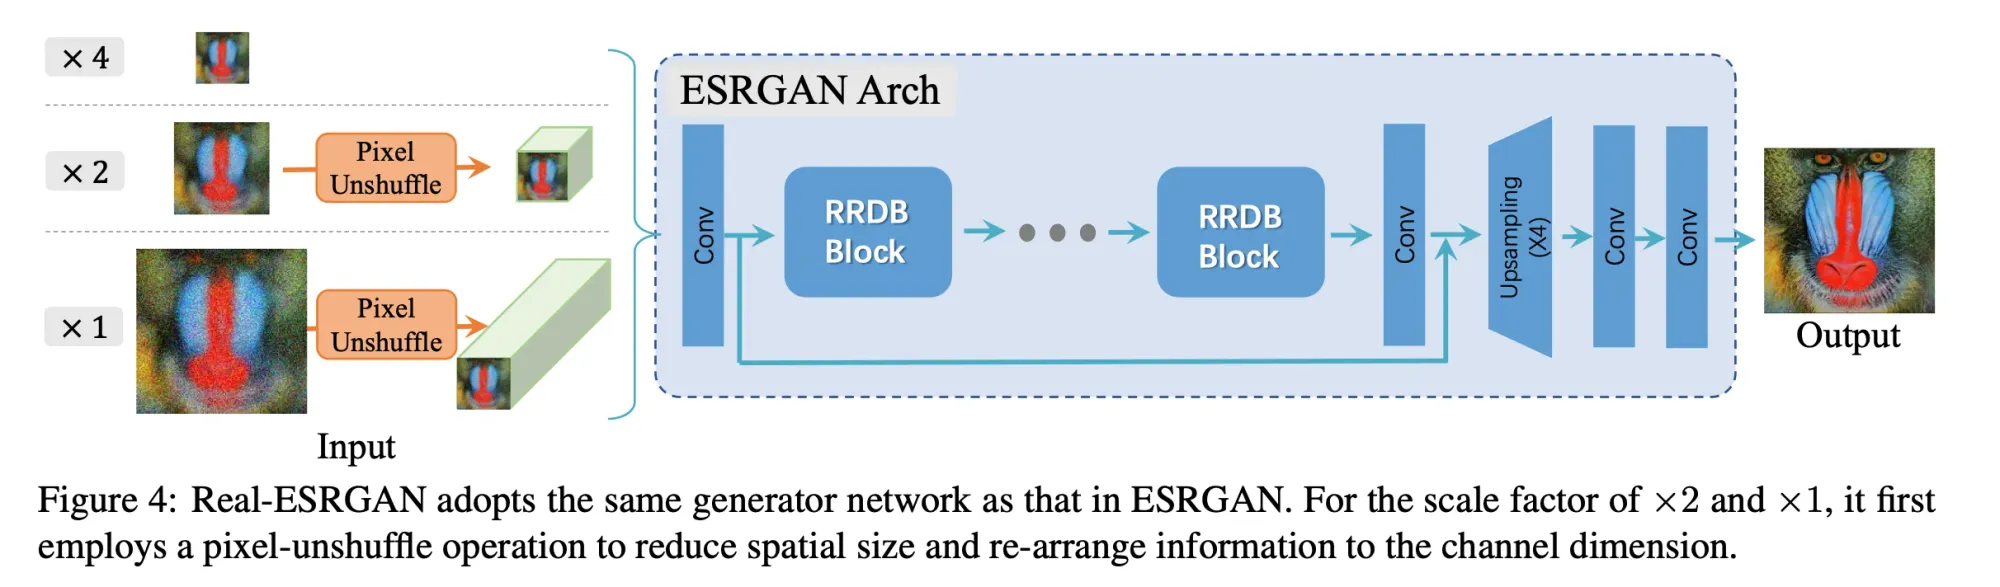
The RRDBNet is a type of neural network used by Real-ESRGAN. The upsampler is an instance of the RealESRGANer class as mentioned above.
- RRDBNet
num_in_ch: Number of input channels, which is set to 3, indicating that it expects color images with Red, Green, and Blue (RGB) channels.num_out_ch: Number of output channels, also set to 3, indicating that it will generate color high-resolution images.num_feat: Number of feature maps or channels in the network. It's set to 64, which determines the network's capacity.num_block: Number of residual blocks in the network. In this case, it's set to 23, indicating a deep network.num_grow_ch: The growth rate of channels within the residual blocks, set to 32.scale: The scaling factor for super-resolution. It's set to 4, which means the network is designed to upscale images by a factor of 4.
- upsampler
scale: This parameter defines the scaling factor by which the low-resolution input images will be upscaled. In this case, it's set to 4, meaning the input images will be scaled up by a factor of 4.model_path: This is the path to the pre-trained Real-ESRGAN model weights, which are loaded to perform the upscaling. The weights are typically learned during the training phase.model: TheRRDBNetinstance, which is the neural network responsible for the upscaling.tile,tile_pad, andpre_pad: These parameters can relate to how the upscaling is applied in a tiled manner, which can be useful for processing large images in smaller pieces to save memory.tiledetermines the tile size,tile_padspecifies the padding around each tile, andpre_padsets the padding before processing.
Step 4: Run the model
image = "/content/weird_llama.jpeg"
scale = 4
img = Image.open(image)
img = np.array(img)
output, _ = upsampler.enhance(img, outscale=scale)
output_image = Image.fromarray(output)
# Save the image
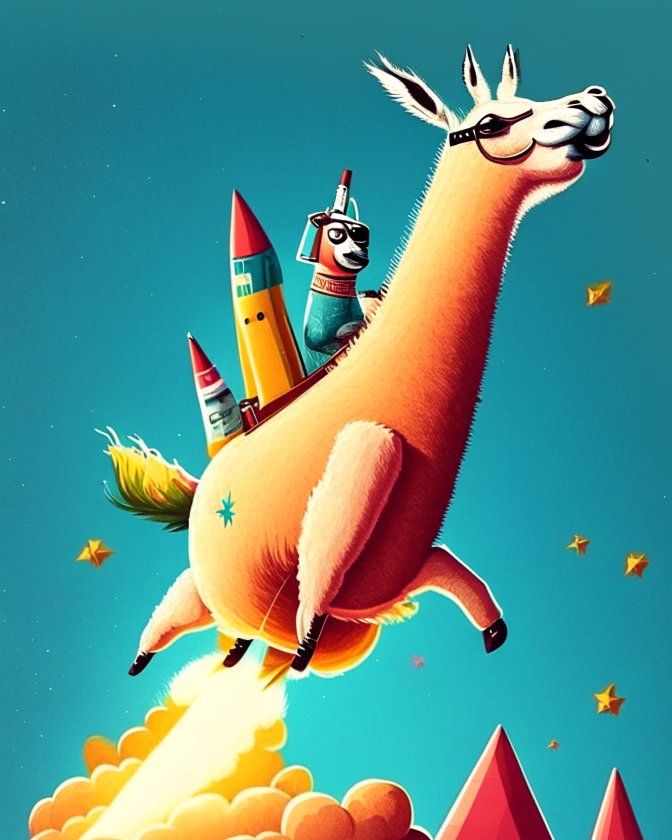
output_image.save('/content/output.jpeg')The input to the model is an image path, in this case, I have an image of a llama I generated using stable diffusion at the path /content/weird_llama.jpeg. Similarly, the output of the image is stored at /content/output.jpeg.
Here are the results I got for the weird_llama image:
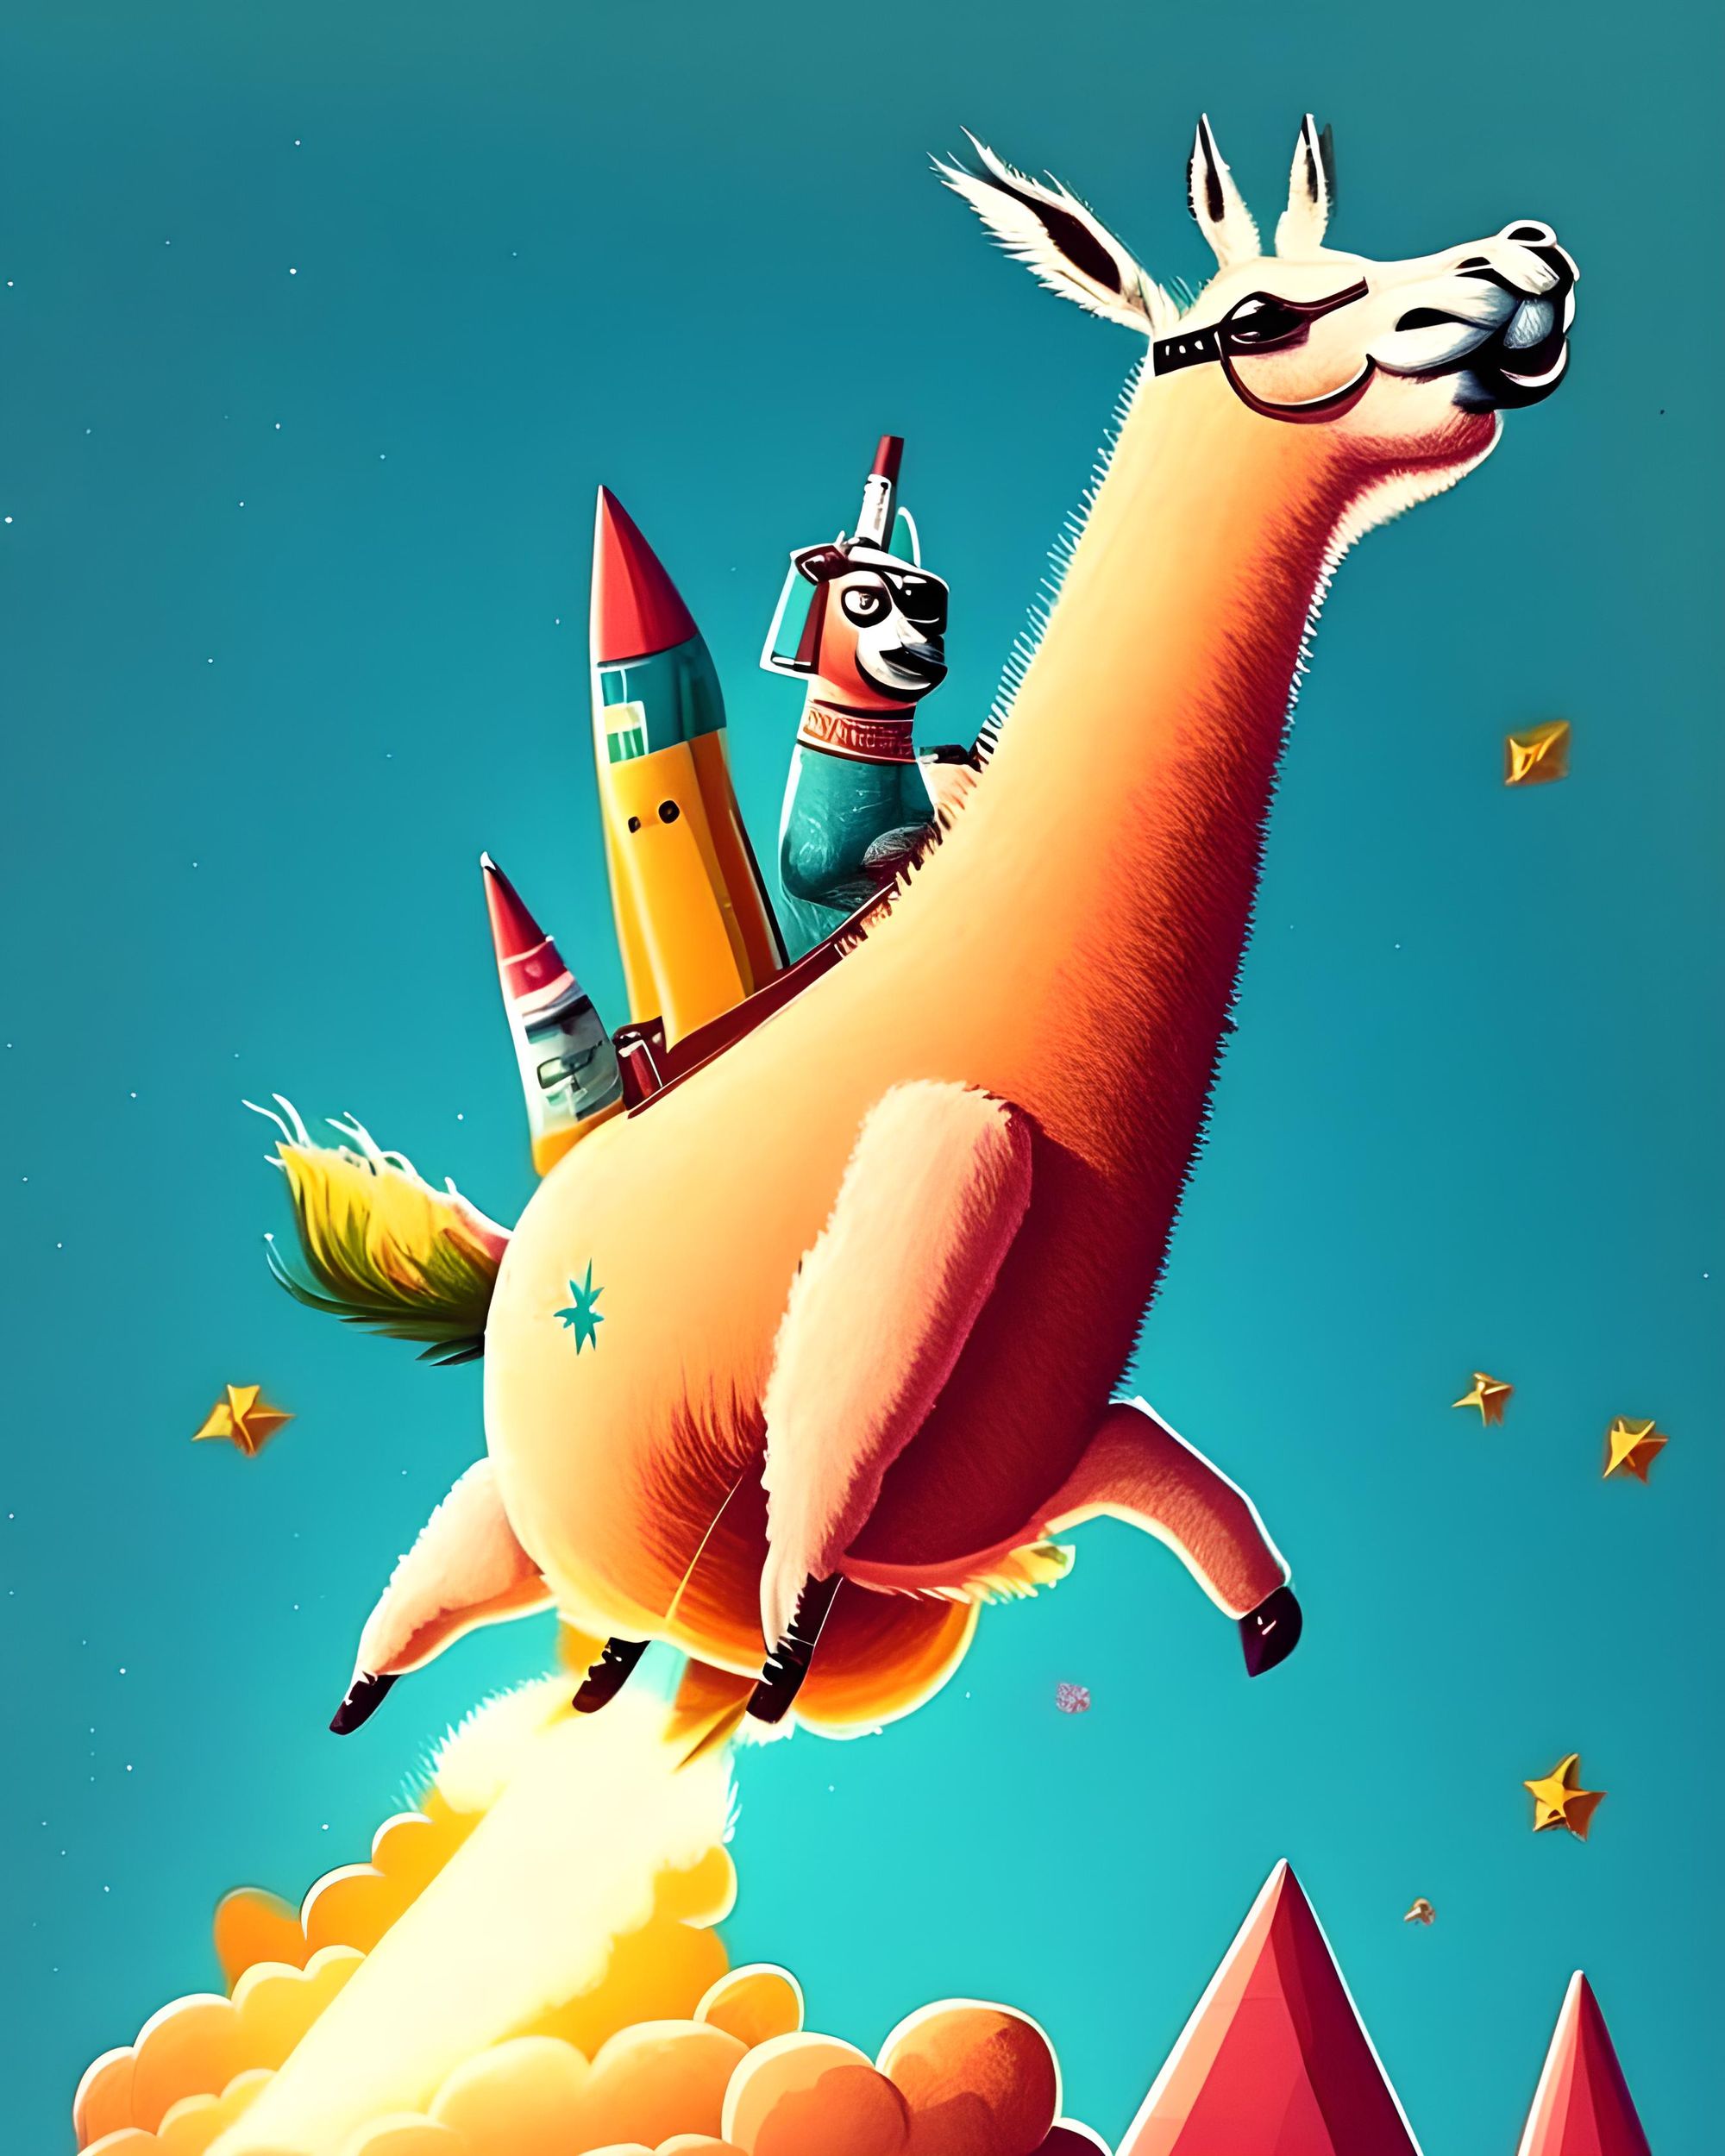
Original Image(Left) | Upscaled Image(right)
Here is another example:

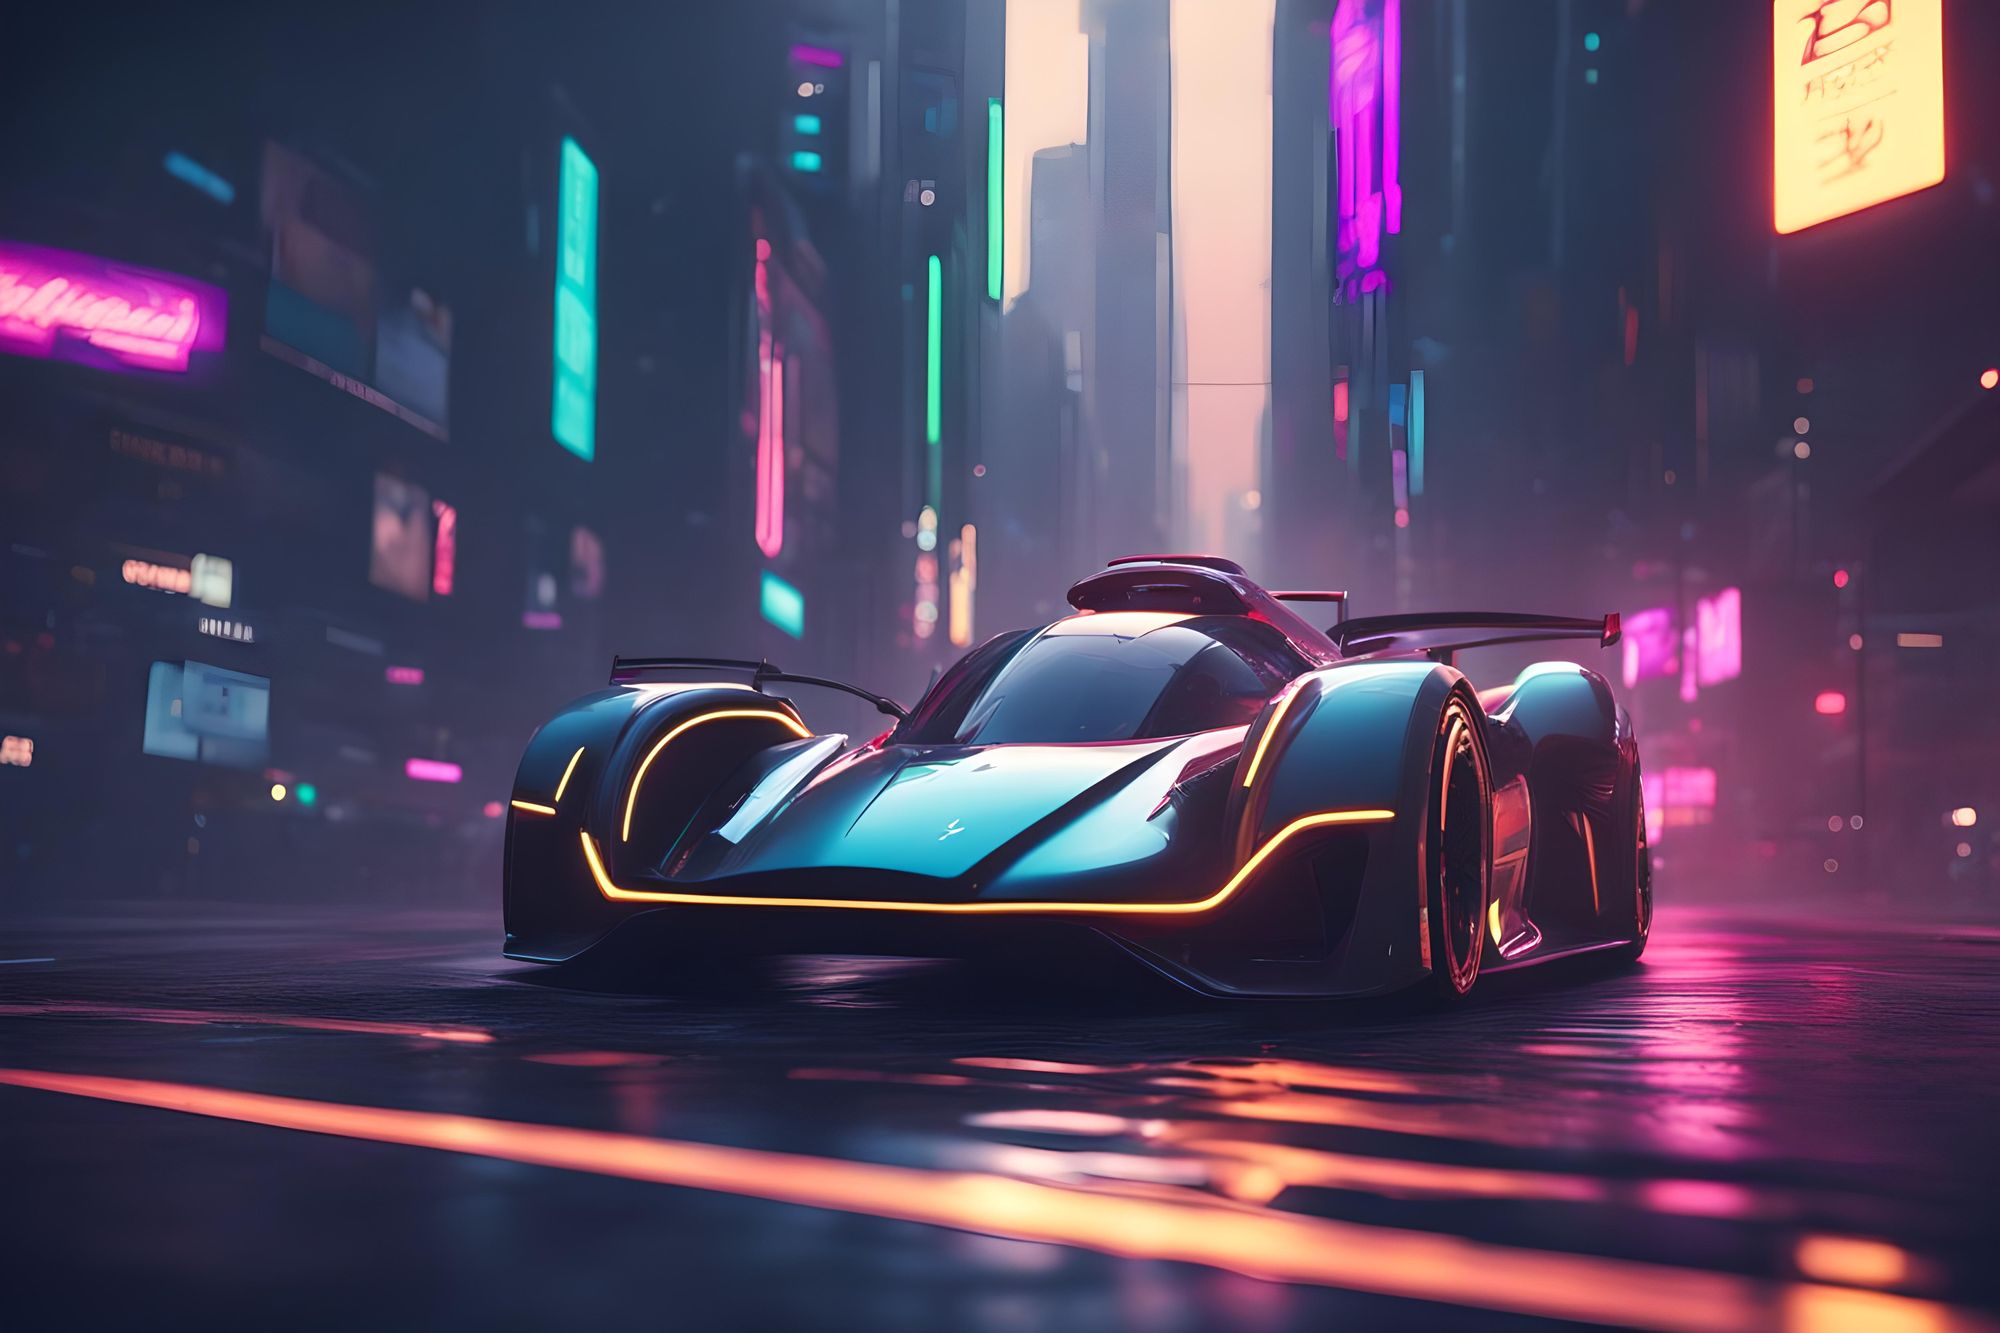
Original Image(Left) | Upscaled Image(right)
Conclusion
In this post, my goal was to show how a deep learning model can be used to improve image quality by increasing the resolution. Real-ESRGAN isn't the only model that is capable of doing this task. Various other models can be used for image upscaling as well. However, this model has been battle-tested on real-world images and has displayed excellent performance in these areas.
With the rise of generative AI, the current models we have are just the beginning. In the future, models will continue to improve and give us the ability to restore and enhance all images with perfection. Generative image models like Stable Diffusion and Midjourney also provide us with a plethora of synthetic data which can help expedite training for models like GANs. I suspect we will see big improvements in this area in the next few years.
I hope you enjoyed this article and if you'd like to read more articles like this, please consider subscribing 😀

Member discussion